Image Sharpening Techniques: When and How to Sharpen Your Photos
Master image sharpening techniques including unsharp mask, high-pass filter, and smart sharpen.
What Is Image Sharpening?
Image sharpening enhances edge contrast to make an image appear more detailed. It works by increasing the contrast between adjacent pixels along edges, creating the illusion of higher resolution. Most digital images benefit from at least a small amount of sharpening, particularly after resizing or background removal.
How Sharpening Works
Sharpening algorithms detect edges — areas where pixel values change rapidly — and increase the contrast at those transitions. The effect is most visible along high-contrast boundaries like text, product outlines, and hair strands. Applied correctly, sharpening makes an image look crisp and professional. Overdone, it creates visible halos and noise.
Sharpening Techniques Compared
There are three main sharpening approaches, each suited to different scenarios:
| Technique | Mechanism | Best For | Risk if Overdone |
|---|---|---|---|
| Unsharp Mask | Blurs image, subtracts from original, adds difference back | General sharpening, portraits | Visible halos around edges |
| High-Pass Filter | Extracts high-frequency detail, overlays on original | Product photos, text, line art | Noise amplification, gritty texture |
| Smart Sharpen | Reduces noise before sharpening, applies differently to shadows/highlights | High-ISO images, landscapes | Less risky than other methods |
Unsharp Mask Parameters
Three parameters control unsharp mask:
- Amount — How much edge contrast to add (50-150% typical)
- Radius — Width of the edge enhancement (0.5-2.0 pixels typical)
- Threshold — Minimum contrast for an edge to be sharpened (0-10 typical)
High-Pass Filter Sharpening
High-pass sharpening isolates fine detail and layers it back onto the original. This technique is particularly effective for product photography because it enhances texture without affecting large color areas.
When to Sharpen in Your Workflow
Timing matters. Sharpening should be the last step in your editing pipeline. Here is why:
- After background removal — Run background removal first, then sharpen the cutout. This prevents the sharpening algorithm from enhancing background noise.
- After resizing — Resizing changes pixel arrangements. Sharpening after resize works with the final pixel layout.
- After color adjustment — Color adjustments can shift pixel values. Sharpen after all other edits are complete.
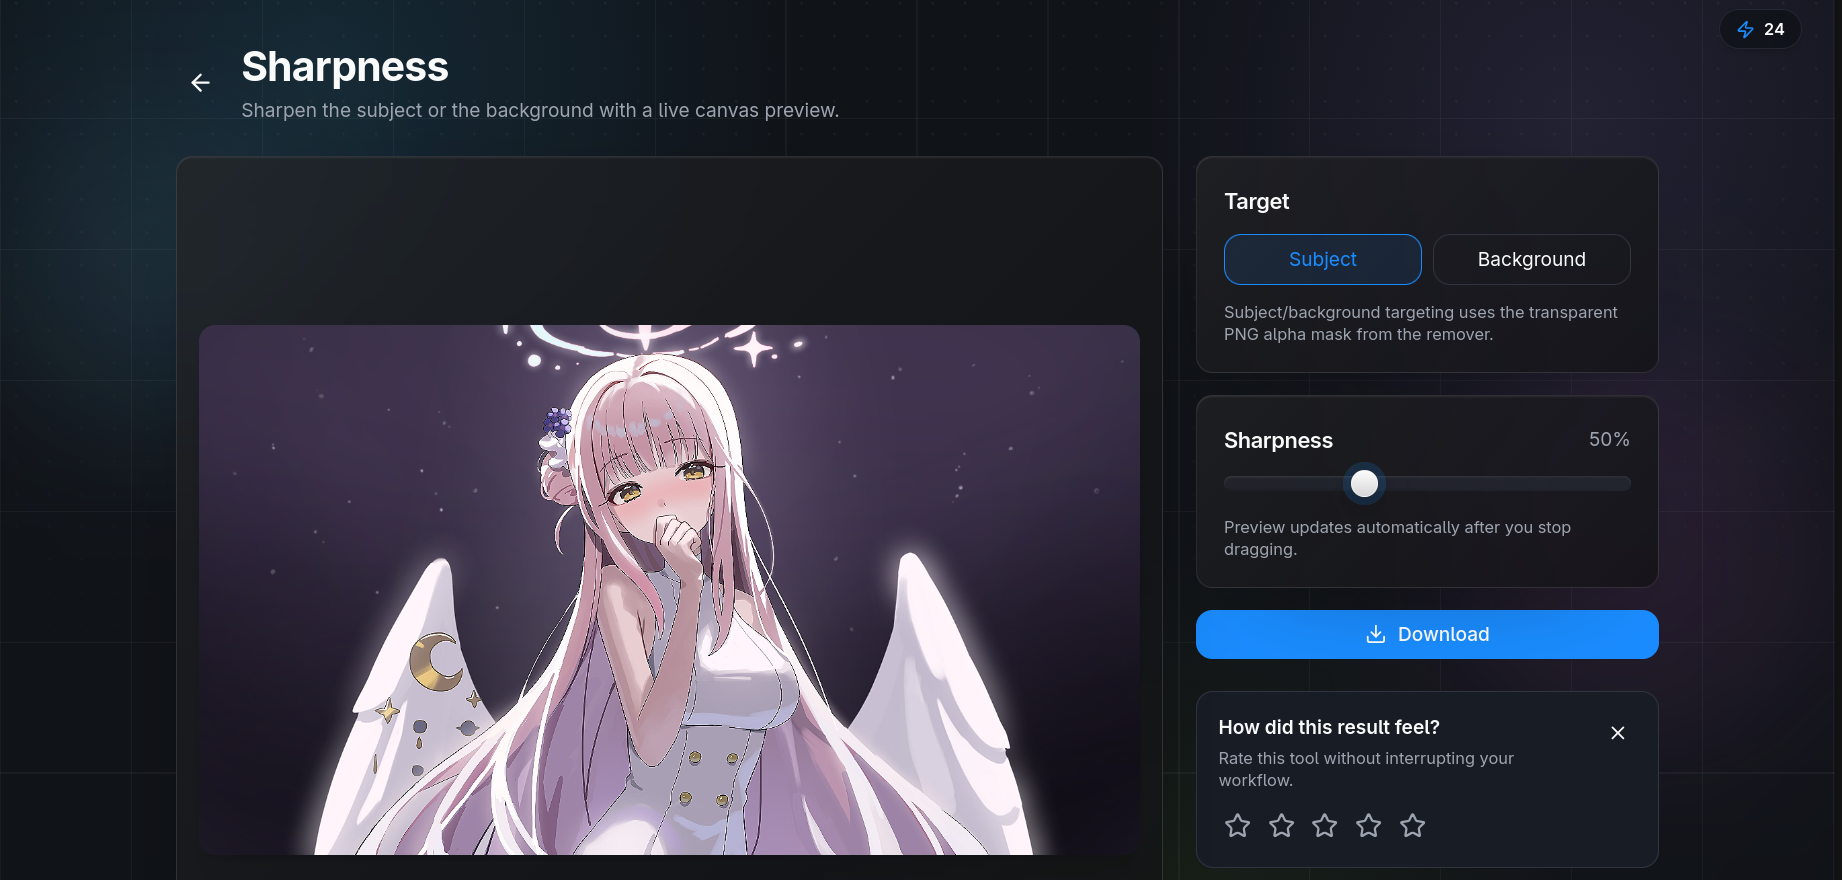
Step-by-Step Sharpening with QuickBG
Our sharpness tool applies smart sharpen optimized for web use:
- Upload your image and select the sharpness level. The default Medium setting works for most photos.
- Preview the result at 100% zoom. Look at edges — hair, product outlines, text — for halos.
- Adjust the slider down if you see white or dark bands along edges. Adjust up if the image still looks soft.
- Download the result. For batch work, apply the same setting across all images for consistent sharpness.
Common Sharpening Mistakes
| Mistake | Result | Fix |
|---|---|---|
| Sharpening before resizing | Soft final image, halos scaled with resize | Always sharpen at the final size |
| Over-sharpening faces | Exaggerated pores, harsh skin texture | Use lower radius (0.5-0.8 px) for portraits |
| Sharpening JPEG artifacts | Blocky compression makes edges worse | Denoise before sharpening, use low threshold |
| Ignoring output medium | Web images look fine; prints look soft or harsh | Print needs less sharpening than web display |
Comparison: QuickBG vs Dedicated Sharpening Tools
| Tool | Technique | Batch Support | Preview Quality |
|---|---|---|---|
| QuickBG Sharpness | Smart sharpen | Yes | Real-time, full resolution |
| Photoshop | Unsharp mask, smart sharpen | Yes (actions) | Real-time, full resolution |
| Lightroom | Unsharp mask with masking | Yes | Real-time, full resolution |
| Basic editors | Simple sharpen filter | No | Real-time, low resolution |
For more sharpening tips and best practices, visit our FAQ page or explore all QuickBG tools.