DIY Product Photography: Professional Results Without a Studio
Create studio-quality product photos at home using AI editing tools and simple lighting techniques.
You Can Shoot Product Photography Without a Studio
Professional product photography used to require thousands of dollars in equipment, a dedicated studio space, and years of experience. In 2026, that is no longer true. With a smartphone, basic lighting knowledge, and AI-powered editing tools, anyone can produce images that look like they came from a professional photographer.
The secret is not in the camera — it is in the workflow. Modern AI tools handle the technical heavy lifting, from background removal to color correction to resizing. You focus on composition and lighting. The AI handles everything else.
Studio vs. DIY Photography Comparison
| Factor | Professional Studio | DIY with AI Tools |
|---|---|---|
| Equipment cost | $2,000 - $10,000+ | $0 (use your smartphone) |
| Space required | Dedicated studio room | Any room with a window |
| Learning curve | Months to years | Hours to days |
| Editing time per image | 10-30 minutes (manual) | 30-60 seconds (AI-assisted) |
| Consistency across catalog | High (with skilled editor) | Very high (automated presets) |
| Cost per image (at scale) | $10-$50 | Pennies |
Setting Up Your DIY Photography Station
You do not need much to get started. Here is everything you need:
- A smartphone with at least 12 megapixels (any modern iPhone or Android works)
- Natural light from a large window — north-facing windows provide the most consistent light
- A white or neutral backdrop — foam core boards from an art supply store cost under $10
- A tripod — a basic phone tripod costs $15-30 and eliminates blur
- AI editing software — use QuickBG's image tools for background removal, color correction, and resizing
Advanced Lighting Techniques for DIY Photographers
Good lighting separates amateur product photos from professional ones. Here are three simple setups that deliver exceptional results:
| Lighting Setup | Best For | Difficulty | Equipment Needed |
|---|---|---|---|
| Window light + reflector | Small to medium products | Beginner | Window, white foam board |
| Light tent with desk lamps | Jewelry, small accessories | Intermediate | Light tent, 2 desk lamps |
| Two-speedlite softbox setup | Larger products, clothing | Advanced | 2 softboxes, 2 speedlites |
The AI Editing Workflow That Replaces a Studio
Once you have captured your photos, the AI editing workflow transforms them into professional-grade images. Here is the exact process we recommend:
Step 1: Remove the Background. Upload your photo to QuickBG's background remover. The AI will detect your product and separate it from the background in 5-15 seconds. This works even with complex edges like hair, fur, or transparent objects.
Step 2: Replace with a Professional Background. Use the background replacement tool to add a clean white background for e-commerce or a lifestyle scene for social media. QuickBG offers pre-designed backgrounds or you can upload your own.
Step 3: Crop and Resize. Use the crop tool to frame your product perfectly and the resize tool to export at the exact dimensions required by your sales platform.
Step 4: Adjust Color and Sharpness. The adjust tool lets you correct white balance, exposure, contrast, and saturation. Use the sharpness tool to add final clarity — especially important for smartphone photos that can be slightly soft.
Step 5: Convert to the Required Format. Use the format converter to export as JPEG, PNG, or WebP depending on your platform's requirements.
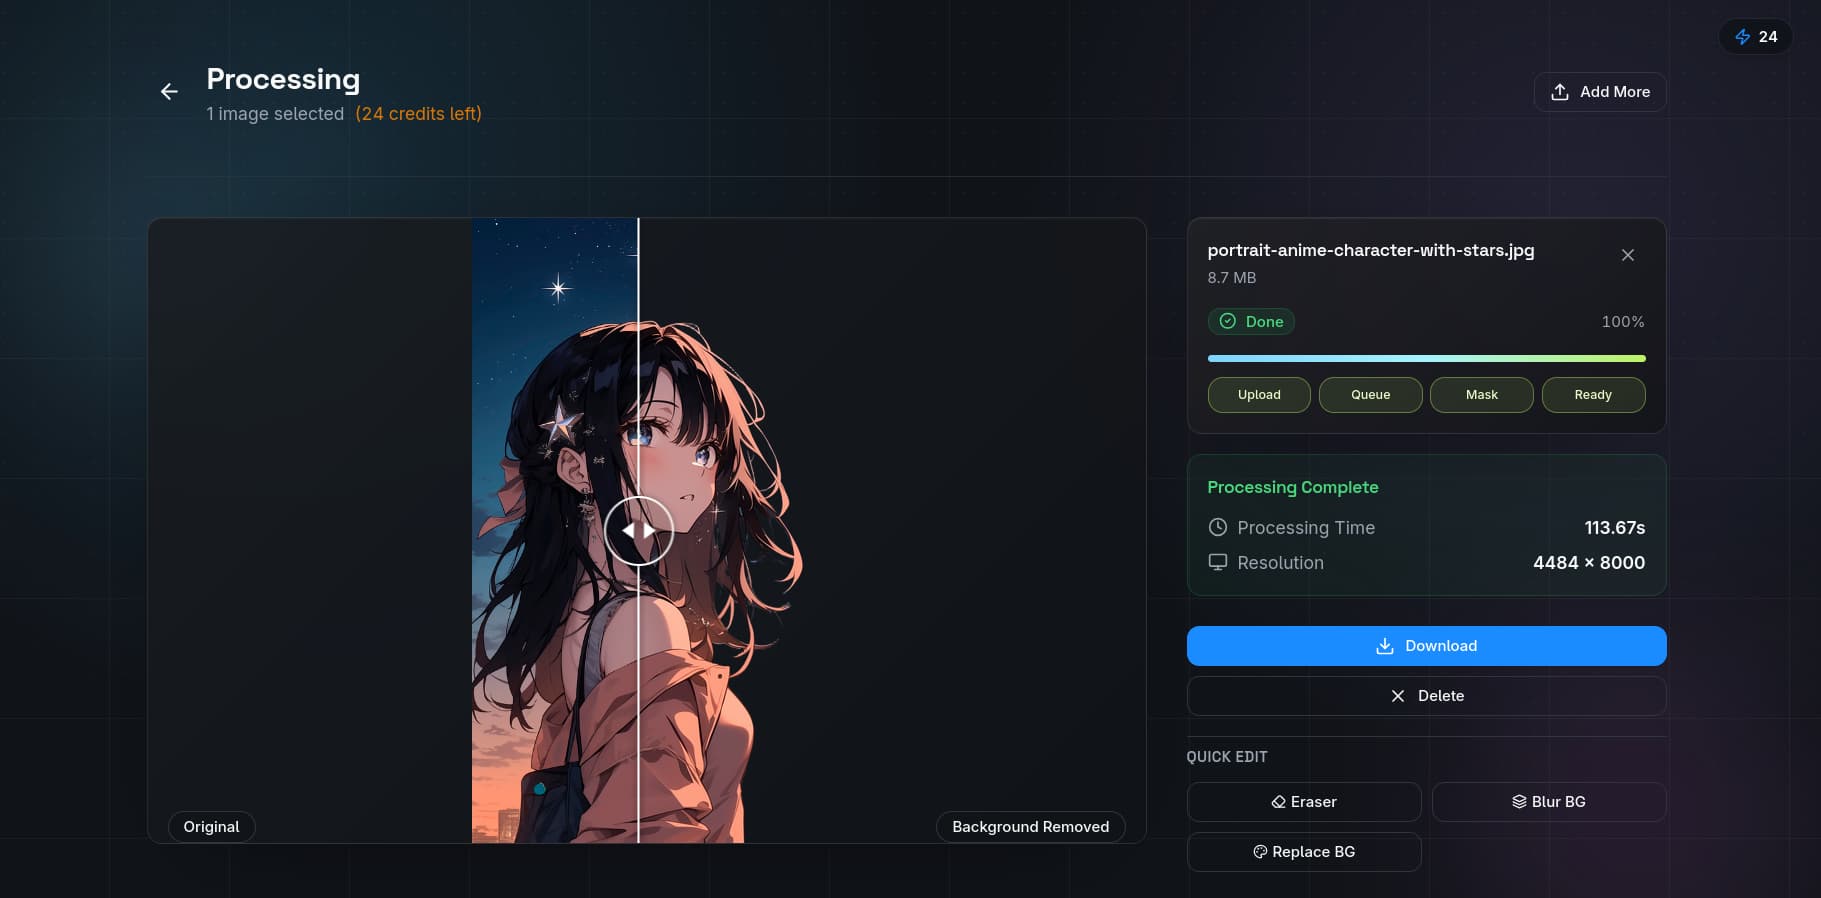
Before and After: Real DIY Results
The image above shows a product photographed on a kitchen counter with mixed lighting. After AI background removal and color correction, the same product looks like it was shot in a professional studio. The difference is lighting cleanup and background isolation — two things AI handles better than most human editors.
What You Can Achieve Without a Studio
- Etsy shops with consistent, professional-looking product photos across all listings
- Amazon listings that pass the strict main image requirements for white background
- eBay auctions with clear, attractive product images that drive bids
- Instagram product posts with clean isolation shots that convert followers into customers
- Shopify stores with a cohesive brand look using uniform backgrounds
Common DIY Photography Pitfalls and How to Fix Them
Problem: Yellow or blue color cast from mixed lighting. Fix by using the white balance adjustment in the adjust tool.
Problem: Soft or blurry images from hand-holding the phone. Fix by using a tripod and the timer function.
Problem: Shadows on the background. Fix by moving the product further from the backdrop and lighting the backdrop separately.
Problem: Product edges look jagged after background removal. Fix by using QuickBG's AI remover which handles edge detection better than manual selection tools.
Professional product photography is no longer reserved for brands with large budgets. With a smartphone, some natural light, and AI editing tools, anyone can create images that sell.