Common Mistakes with AI Background Removal (and How to Fix Them)
AI background removal is powerful, but it isn't magic. Here are the most common issues users encounter and how to solve them.
AI background removal has become incredibly reliable, but certain images still trip it up. Understanding why these failures happen — and how to work around them — is the difference between a usable cutout and a frustrating experience.
Mistake 1: Low Contrast Between Subject and Background
The most common cause of poor results is insufficient contrast. If your subject is wearing a white shirt against a white wall, the model has difficulty finding the boundary because the pixel values are nearly identical on both sides.
Fix: Change the lighting or background before shooting. Even a small shadow or color difference helps the model distinguish edges. If you are working with an existing photo, try increasing the contrast in QuickBG's adjust tool before running the background remover.
Mistake 2: Complex Hair and Fur
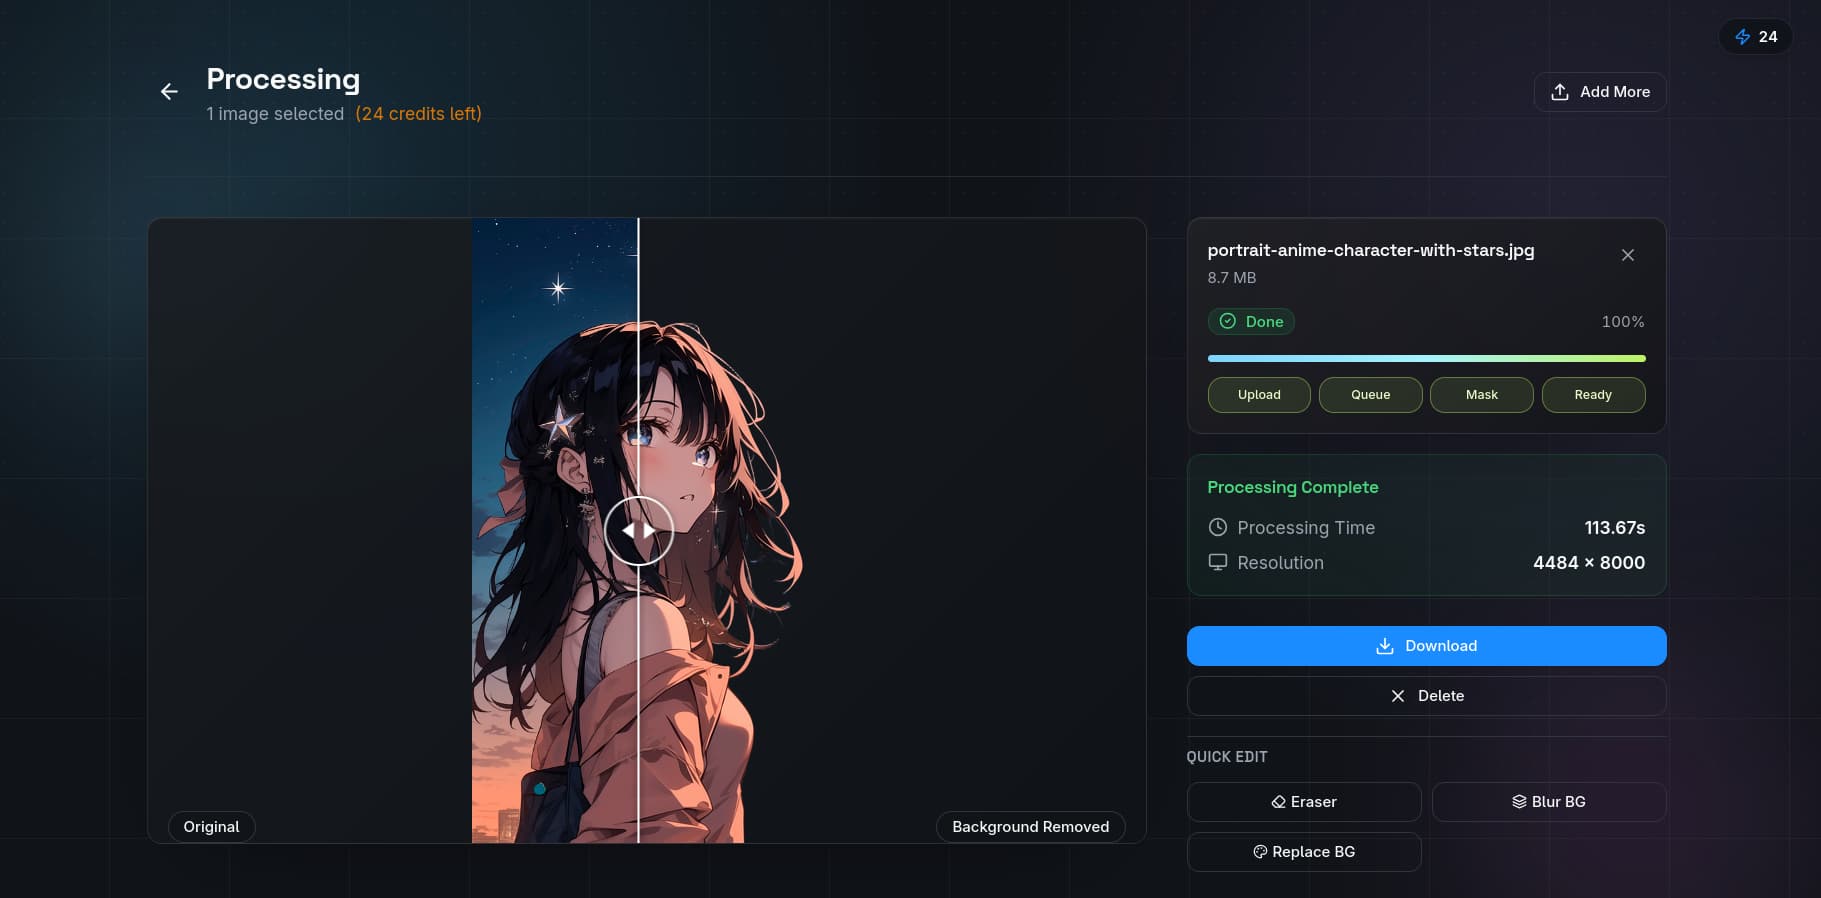
Fine details like hair strands, fur, and feathers are the hardest test for any background removal model. Early AI tools would either cut them off entirely or leave a halo of the original background.
Fix: Modern BiRefNet-based models handle hair much better, but you can still improve results by ensuring the hair is not backlit. Harsh lighting from behind creates a glow effect that blurs the hair-background boundary. Shoot with even, front-facing light. After removal, use QuickBG's sharpness tool to refine any remaining soft edges.
Mistake 3: Transparent and Reflective Objects
Glass bottles, water droplets, eyeglasses, and translucent fabrics are inherently tricky because the background shows through the subject. The model must decide what is subject and what is background at every pixel.
Fix: For glass products, try placing a dark object behind the camera position so the glass reflects a dark surface rather than the room. This gives the model a more consistent signal. For eyeglasses, recognize that some transparency loss is inevitable — the model will either keep the glass (and some background) or remove the glass entirely. Choose the result that works best for your use case.
Mistake 4: Shadows Cast by the Subject
A product photo with a strong cast shadow often produces a cutout that includes the shadow as part of the subject. This results in a dark blob attached to the bottom of the product.
Fix: Use diffused lighting to minimize cast shadows. If the shadow is already in the image, run the result through QuickBG's background replacer with a white or light-colored solid background — the shadow will be much less visible against a bright backdrop. You can also crop the image to remove the shadow area before processing.
Mistake 5: Overlapping Subjects
If two people are hugging or a product overlaps another object, the model may not know where one subject ends and the other begins.
Fix: Separate the subjects before photographing. For group shots, leave visible gaps between people. For products, remove any props that touch the main item. The model works best when the subject has a clear, unbroken boundary.
Mistake 6: Expecting Perfection Without Review
AI removal is fast and accurate, but it still needs human review. Never download a result and use it without checking the edges at 100% zoom.
Fix: Zoom in to at least 100% and scan the boundary for artifacts. Look for:
- Jagged edges (the refinement pass missed a section)
- Background-colored pixels clinging to the edge (the matte is too wide)
- Cut-off details (the matte is too narrow)
If you spot issues, try cropping tighter to the subject and re-running the removal. A tighter crop removes distracting background elements that might confuse the model.
Mistake 7: Using Low-Resolution Source Images
Background removal models work best with high-resolution inputs. A 400×400 pixel image does not give the model enough information to produce clean edges.
Fix: Start with the highest resolution image you have. After removal, you can always resize down for your final use. Processing at full resolution and then downsizing produces much better results than processing a small image and trying to upscale it.
The Bottom Line
AI background removal in 2026 is remarkable technology, but it still benefits from good source material. Shoot with contrast in mind, light your subject evenly, and always check the result at full zoom. When issues arise, the tools in the QuickBG suite — sharpness, adjust, crop, and replace — give you everything you need to fix them without leaving the browser.