Blur Effects in Photography: Background Blur vs Gaussian Blur vs Motion Blur
Three types of blur, three different effects. Learn when and how to use each technique in photography.
Background Blur (Depth of Field)
Background blur simulates the shallow depth of field produced by a fast lens with a wide aperture. In photography, this effect — called bokeh — separates the subject from the background by throwing the background out of focus. It is the most requested blur effect for portraits and product photography because it eliminates background distractions while keeping the subject tack sharp.
How to Create Background Blur
You can achieve background blur two ways: optically with a camera lens during shooting, or digitally with software after the fact. For images shot with busy backgrounds, our background blur tool applies a realistic depth-of-field effect that mimics a lens aperture.
The AI detects the subject and applies blur only to the background, preserving the subject's edges. You can adjust the blur intensity from a subtle f/2.8 simulation to an extreme f/1.2 look.
Gaussian Blur
Gaussian blur is a uniform blur applied equally across the entire image or a selected area. Unlike background blur, which respects subject boundaries, Gaussian blur treats every pixel the same way. It is named after the Gaussian function used to calculate the blur kernel.
Common Uses for Gaussian Blur
- Softening backgrounds for text overlays in social media graphics
- Creating glowing effects by combining a blurred layer with the original
- Reducing noise in high-ISO images (though dedicated noise reduction is better)
- Blurring sensitive information like faces or license plates
Gaussian blur is not ideal for subject-background separation because it does not distinguish between foreground and background. Use QuickBG's background blur for that purpose, or remove the background entirely and place the subject on a custom backdrop.
Motion Blur
Motion blur simulates the streaking effect of moving objects. It creates a sense of speed and direction by blurring pixels along a specific axis. Unlike the other two blur types, motion blur is directional — you can apply it horizontally, vertically, or at any angle.
When to Use Motion Blur
- Sports and action images to convey speed
- Creative composites where movement adds energy
- Panning effect simulation for car and bike photography
- Abstract art with intentional smear effects
Comparison: Three Blur Types
| Blur Type | Direction | Subject Detection | Best For |
|---|---|---|---|
| Background Blur (Bokeh) | None (radial falloff) | Yes, AI-detected | Portraits, product photos, subject isolation |
| Gaussian Blur | None (uniform) | No | Text backgrounds, privacy, noise reduction |
| Motion Blur | Angled (adjustable) | No | Sports, action, creative effects |
Use Case Scenarios
| Scenario | Recommended Blur | Why |
|---|---|---|
| Profile photo with messy background | Background Blur | Keeps face sharp, blurs only background |
| Social media post with text overlay | Gaussian Blur | Uniform blur ensures text readability |
| Car photo for sale listing | Motion Blur | Adds sense of motion and energy |
| E-commerce product on white | Background Blur on backdrop | Creates depth without changing clean look |
| Blurring faces in public photos | Gaussian Blur | Even coverage ensures privacy |
| Wedding portrait | Background Blur | Romantic bokeh effect enhances subject |
Step-by-Step: Adding Blur Effects with QuickBG
Background Blur
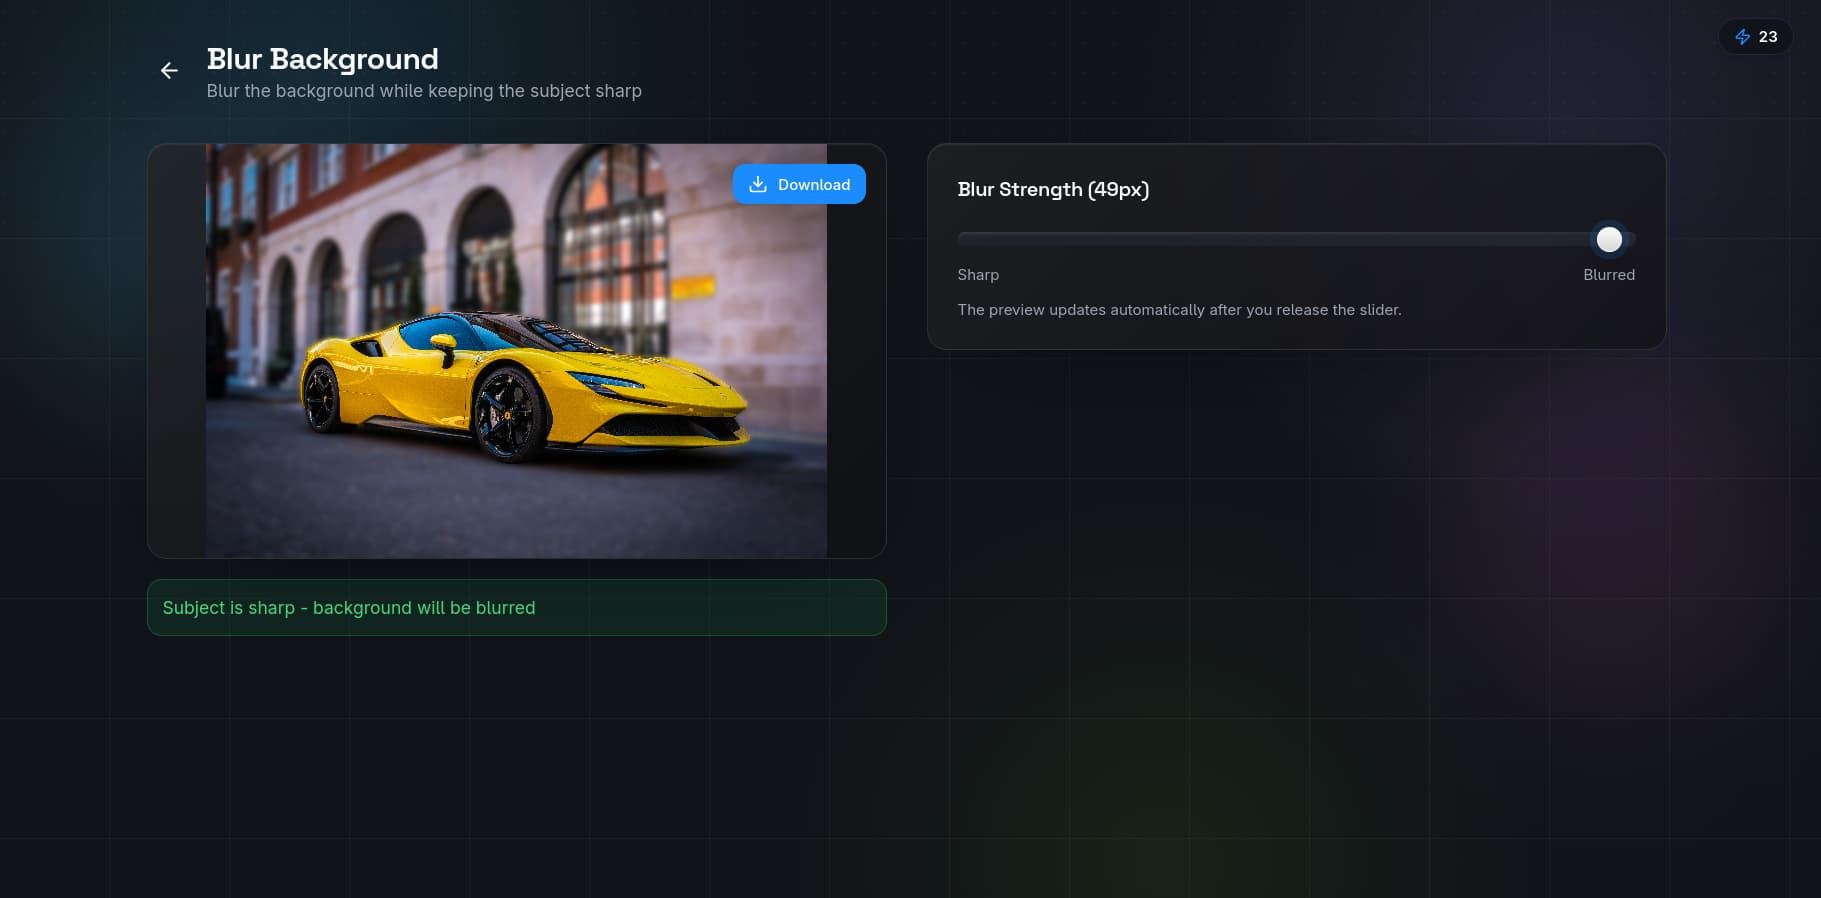
- Upload your image to the blur background tool.
- Wait for the AI to detect the subject (2-5 seconds).
- Use the intensity slider to control the blur strength. The preview updates in real time.
- If the edge detection needs adjustment, use the refine brush to mark areas the AI missed.
- Download the result as a JPEG or PNG.
Gaussian Blur via QuickBG Tools
While QuickBG's blur tool is optimized for background blur, you can achieve a Gaussian blur effect by first removing the background, placing the subject on a new layer, and applying a soft gradient background. Combine background replacement with a solid color or gradient for a clean look.
Motion Blur Effect
- Start with a transparent PNG using background removal.
- Place the subject on a new background using background replacement.
- For the motion effect, use a directional blur in your preferred editor. The combination of background blur and cropping can also suggest motion.
Pro Tips for Natural-Looking Blur
- Less is more. Subtle blur (intensity 20-30%) looks more realistic than heavy blur in most scenarios.
- Match the lens. Study how your camera lens renders out-of-focus areas. Circular aperture blades create round bokeh.
- Avoid halos. If you see a bright ring around the subject after blurring, the edge detection is too wide.
- Combine with sharpening. After applying background blur, run the subject through QuickBG's sharpness tool to restore any softness on the subject boundary.
For answers to common questions about blur effects, visit our FAQ page or explore the full QuickBG tool suite.