Best Free Image Editing Workflow for Beginners
You do not need Photoshop to produce professional images. Here is a complete free workflow using web-based tools that rival desktop editors.
Professional image editing used to mean expensive software and a steep learning curve. That has changed. In 2026, a chain of free web-based tools can handle everything from background removal to color grading — no downloads, no subscriptions, no experience required.
The Toolkit
Here is the stack we recommend for a completely free editing pipeline:
- QuickBG for background removal, resizing, cropping, and adjustments
- A browser-based photo editor for advanced retouching
- A free file converter for format changes
That is it. Every tool in this workflow runs in a browser and works on any operating system.
Step 1: Remove the Background
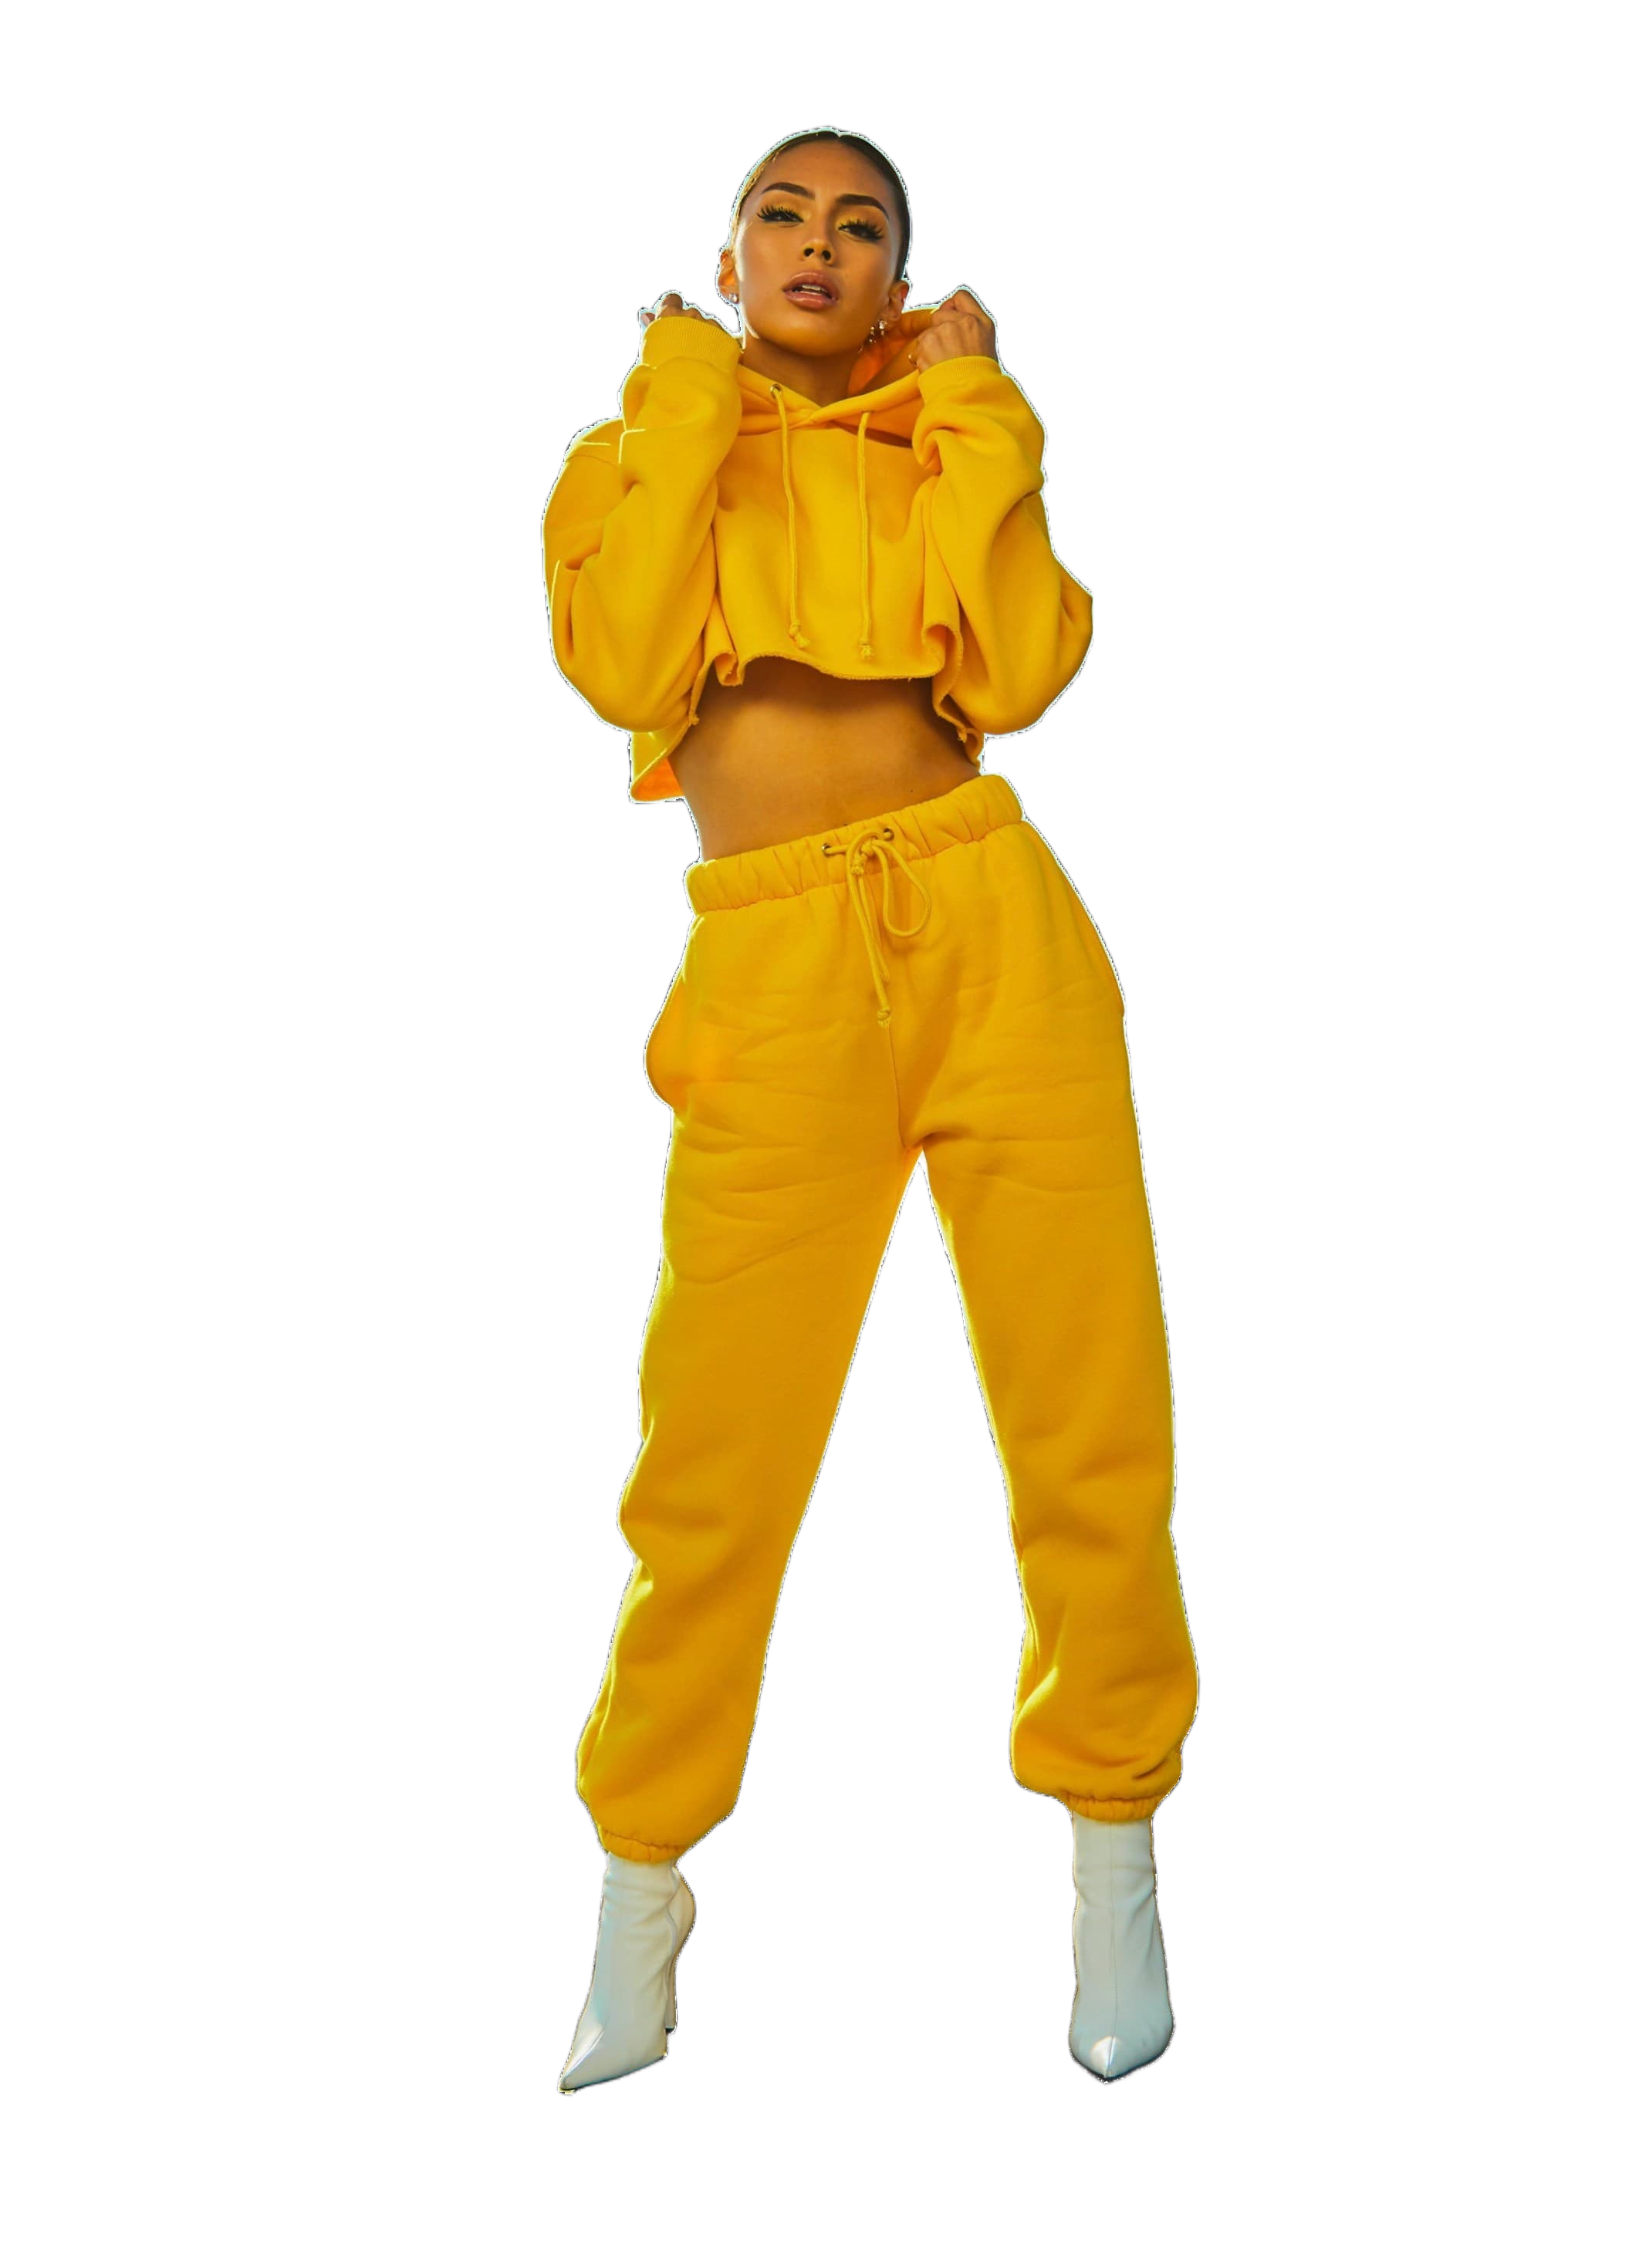
Start by uploading your image to QuickBG's background remover. The AI model detects the subject and produces a transparent PNG in seconds. This is the foundation of most editing workflows — once the subject is isolated, everything else becomes easier.
If the result has rough edges, try adjusting the crop before processing. A tighter crop around the subject helps the model focus on the right area.
Step 2: Resize to Your Target Dimensions
Different platforms need different sizes. Social media posts work best at 1080×1080 px (Instagram square) or 1200×630 px (link previews). Use QuickBG's smart resize to set exact dimensions while maintaining quality.
For print, aim for 300 DPI at the final print size. A 4×6 inch print needs 1200×1800 px. The resize tool handles these calculations automatically if you enter the target print size.
Step 3: Crop for Composition
After resizing, check the composition. Is the subject centered? Is there too much headroom? QuickBG's smart crop lets you adjust the framing with preset aspect ratios for common platforms.
Use the rule of thirds: imagine a 3×3 grid over your image and place key elements along the lines. Most cropping tools include a grid overlay to help with this.
Step 4: Adjust Lighting and Color
Raw images from a phone or entry-level camera often look flat. Open the image in QuickBG's adjust tool and make these tweaks in order:
- Brightness — Increase until the image looks vibrant but not washed out
- Contrast — Add a small amount to restore depth
- Saturation — Boost slightly if colors look dull, but avoid oversaturation
- Sharpness — Apply a light sharpen to bring out detail
The sliders give real-time preview, so you can see exactly what each adjustment does.
Step 5: Replace or Blur the Background
With the subject isolated, you can place it on any background. QuickBG's background replacer supports solid colors and gradients. For social media, a soft gradient background often looks more polished than plain white.
For profile photos, try QuickBG's blur tool to add a depth-of-field effect that mimics a professional camera lens.
Step 6: Export in the Right Format
Finally, export in the format that matches your use case. QuickBG's format converter handles PNG, JPEG, WebP, and AVIF.
- PNG for images that need transparency
- JPEG for photographs where file size matters
- WebP for websites (better compression than JPEG)
- AVIF for the best quality-to-size ratio (supported by most modern browsers)
Building a Repeatable Workflow
The real power of this pipeline is repeatability. Once you establish your settings — target size, contrast level, background color — you can process a batch of images in the same way. This is especially useful for e-commerce sellers who need to maintain consistent quality across hundreds of listings.
Start with one image, run through the steps, and save your settings. The next image takes half the time. After ten images, the workflow becomes muscle memory.
No expensive software, no complicated tutorials — just a browser, a few clicks, and professional results.